Quasar Scan user guide
Optional IIS Setup and Configuration
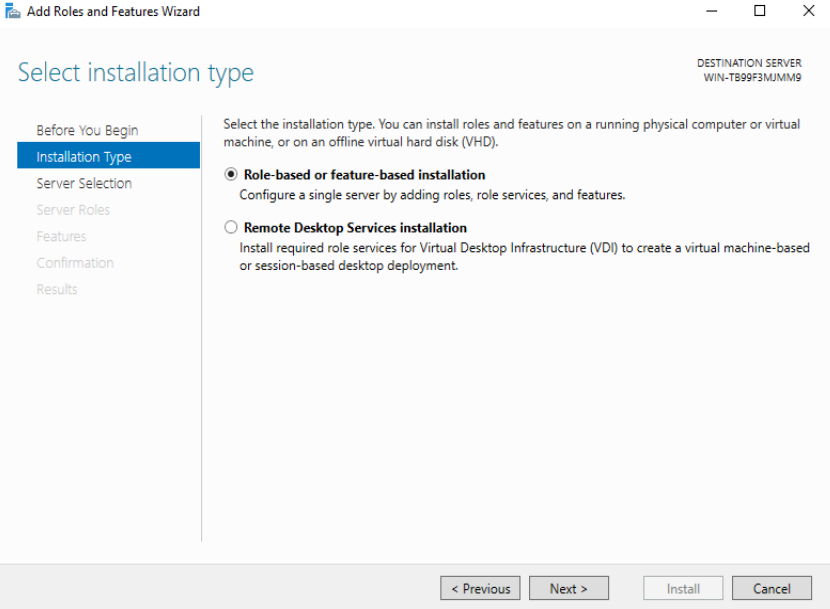
1. Install IIS
You will be completing a “Role-based or feature-based installation”
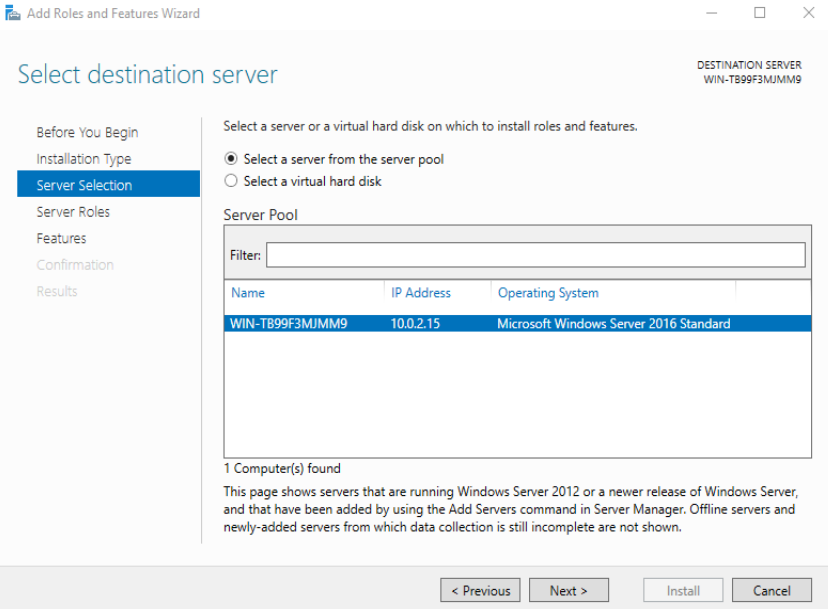
Select your server from the server pool, then click Next.
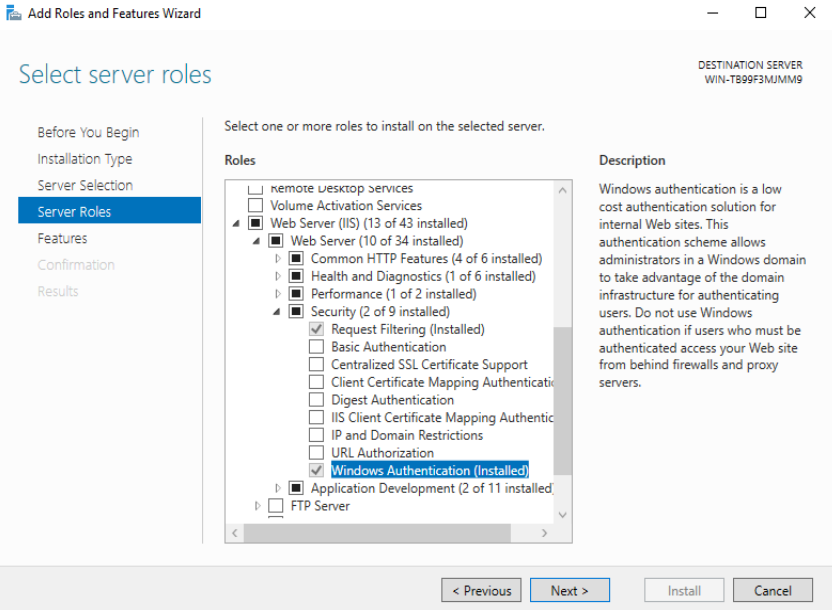
2. Select IIS Features to Install
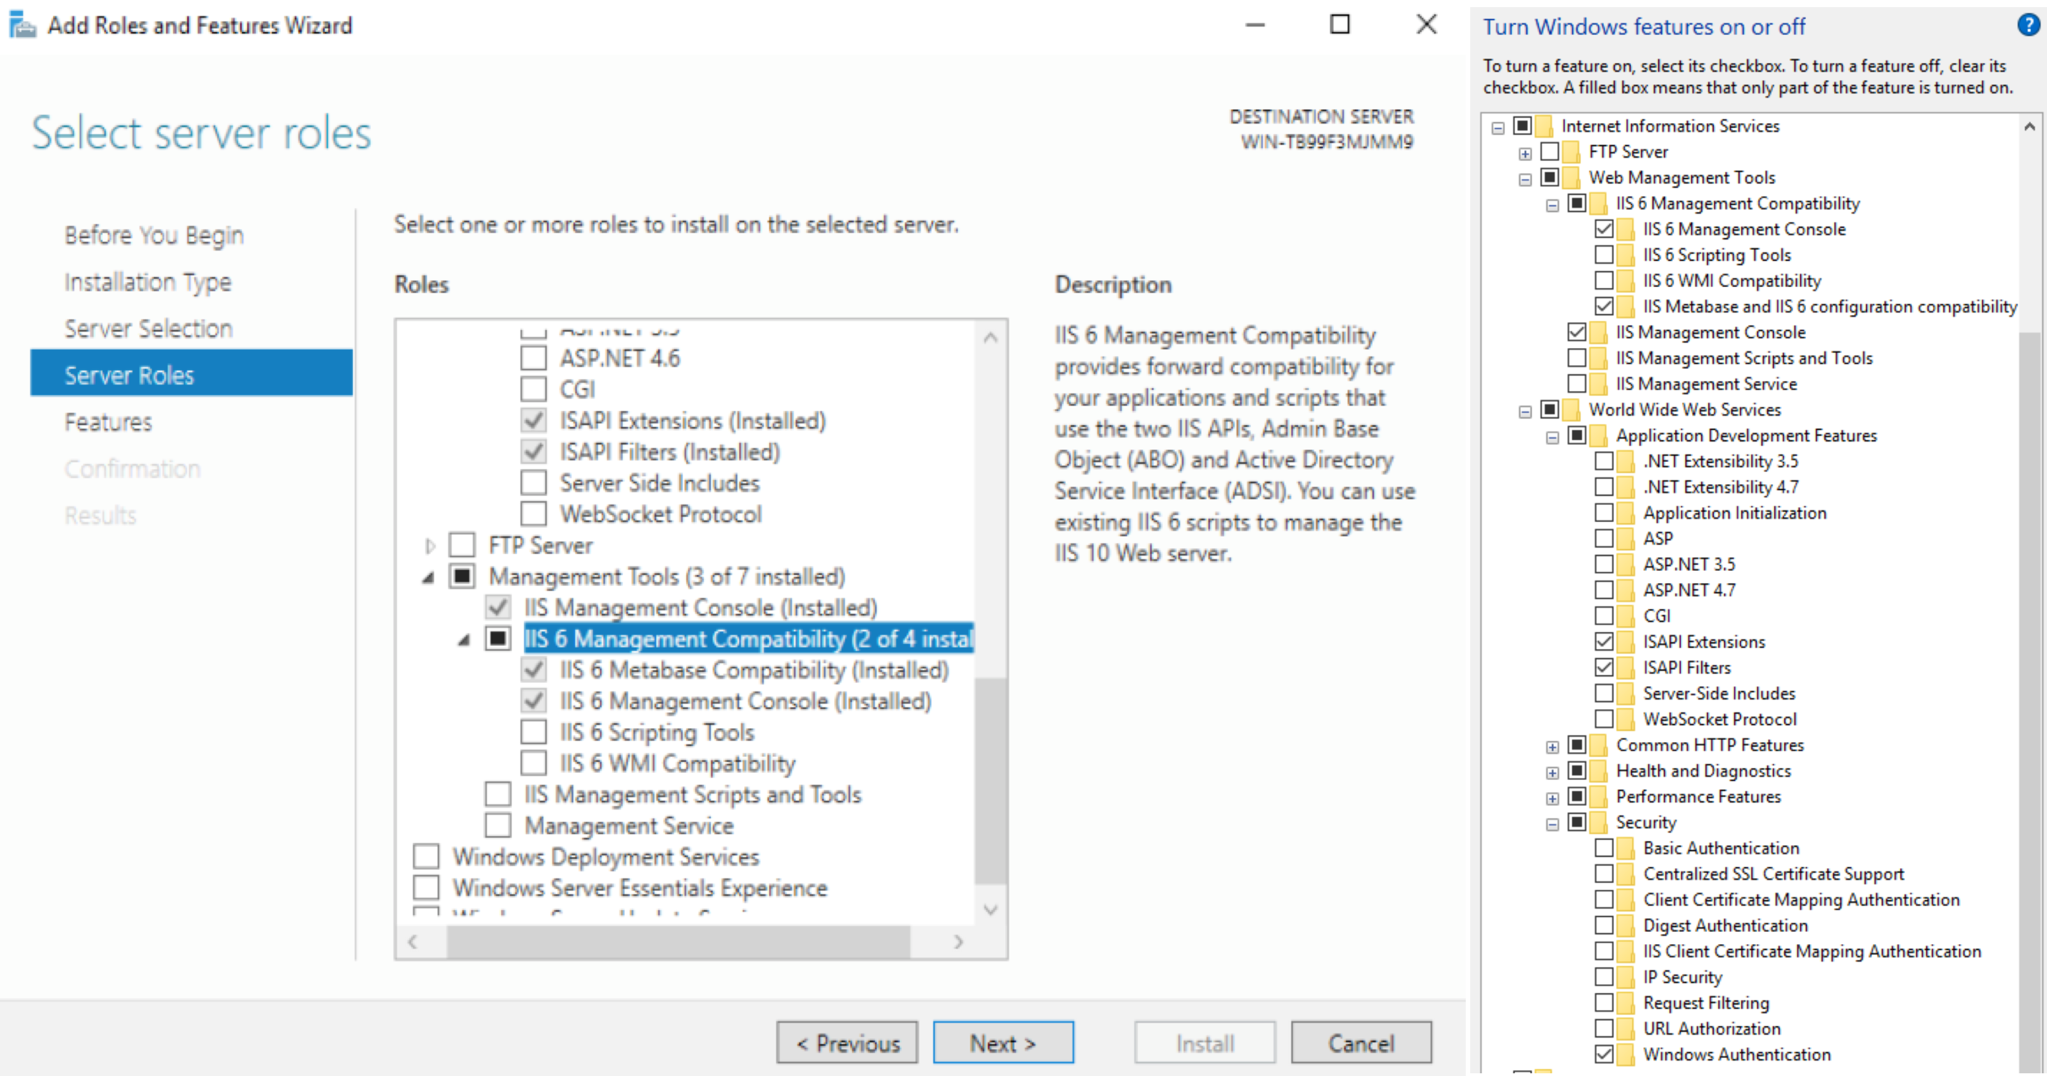
Under Web Server (IIS) ensure the following features are installed or selected (depending on what has already been configured on your server).
2a. Security
Windows Authentication
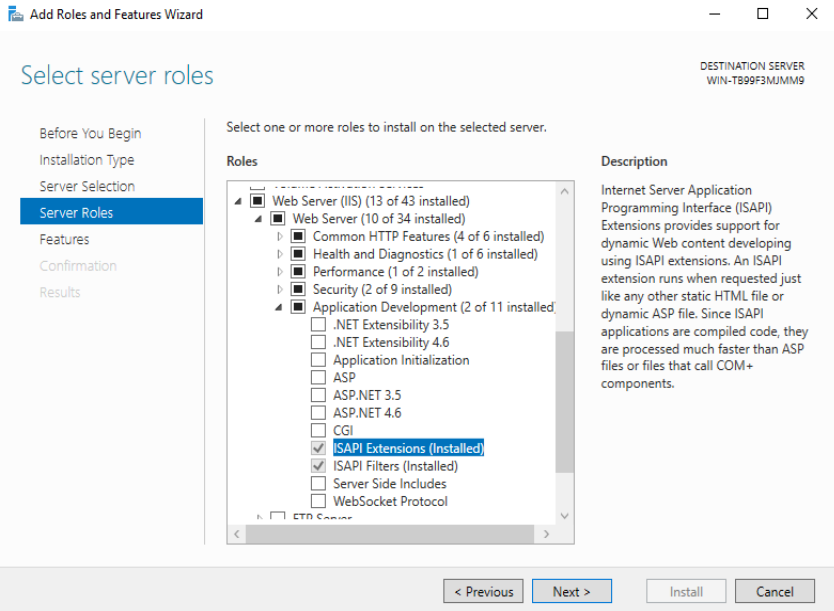
2b. Application Development
ISAPI Extensions
ISAPI Filters
2c. Management Tools
IIS 6 Metabase Compatibility
IIS 6 Management Console
Once you have selected the server roles, click “Next”. You do not need to install any additional features. Click “Next” again. Review the functionality that is being added. Once you have confirmed that you have added the required rolls, click to “Install”
Once the changes have been applied, you may need to restart the server.
3. Configure Application Pool Defaults
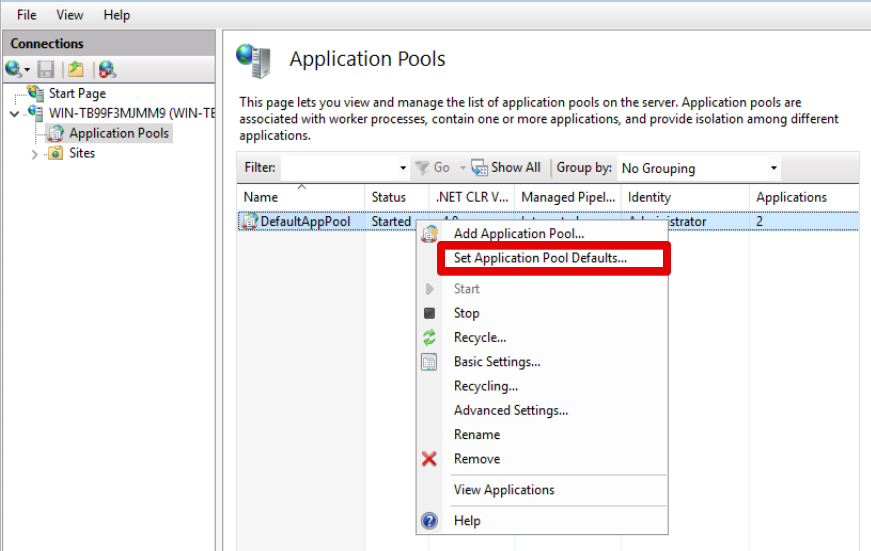
Open Internet Information Services (IIS) as an Administrator.
Select “Application Pools” from the “Connections” menu on the left, then right-click on . “DefaultAppPool” and select “Set Application Pool Defaults”.
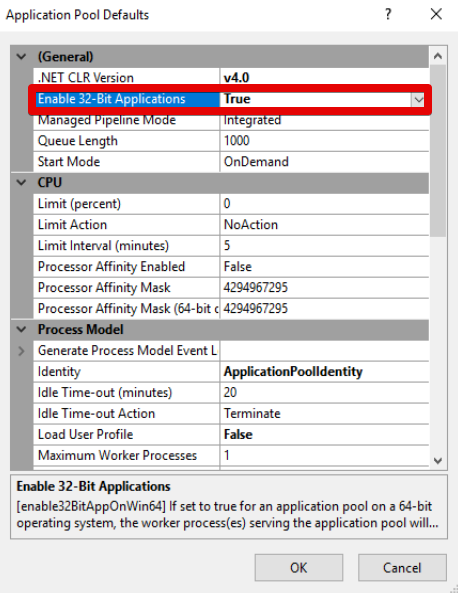
Configure the following:
3a. General
“Enable 32-bit Applications” to “True”
3b. Processes
- Set the “Identity to the account (local admin or service account with local admin privileges) by clicking the three dots next to the listed identity.
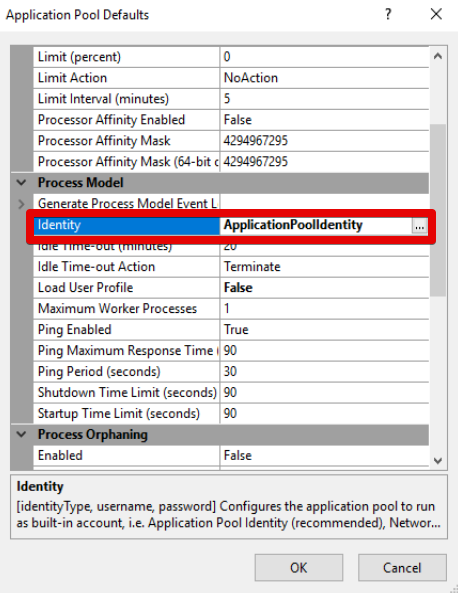
- Click “Custom account” then click “Set…”
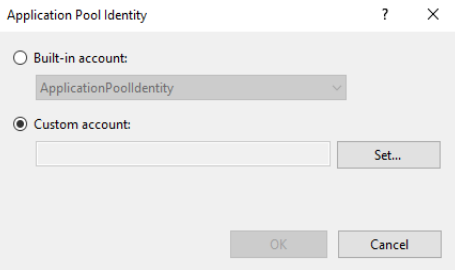
- Enter the username and password for the account used with Quasar. This must be the same as the account that the Quasar Server was installed with.
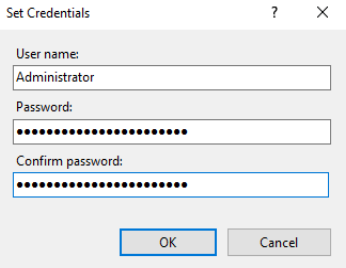
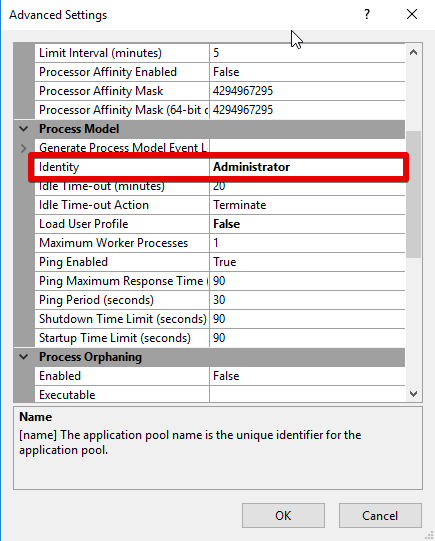
- Click “OK” and you should see that the Identity under Processes has changed.
4. Stop the Default Web Site
Stop the Default Web Site before proceeding to the next part of the installation.
Quasar UI Setup and Installation
1. Install Quasar UI
Install the SetupQuasarV###UI.exe file where ### represents the version number of the software. Your Quasar Specialist will provide you with the most recent version of the file. Follow the on-screen prompts to complete the installation of the Quasar UI package. The default installation path is C:Program Files (x86)quasarui
2. Verify and Install the Quasar Web UI
Open a command prompt as an Administrator and test that the Quasar UI installation was successful and folder permissions have been set correctly. If there are any folder permissions errors, the most likely cause is due to installing the Quasar application under a different username.
cd C:Program Files (x86)quasarui
quasarisapi.exe
If everything has been configured correctly and there are no errors with the folder security permissions, install the web ui:
quasarisapi.exe install
3. Start the Default Web Site
By default, Quasar installs a “quasar” subdirectory under the Default Web Site. Once the Quasar UI has been installed, start the Default Web Site again.
4. Open the Quasar UI in your Preferred Browser
In your preferred browser (we recommend Chrome), navigate to http://localhost/quasar/agents/all and you should see an interface similar to below.

Common Errors
If you see an error similar to:
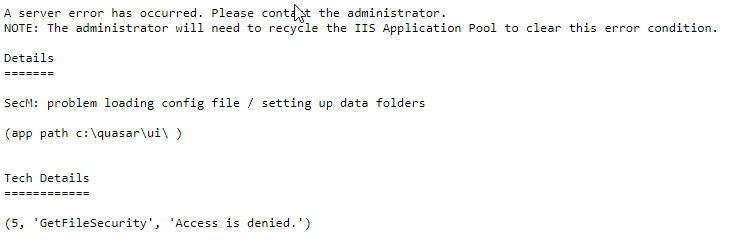
Go back and ensure that the App Pool owner has been configured with the correct Owner and that the Service has been given Logon permissions with the correct account. Both of these must be configured for the account that Quasar was installed with.